Aegis provides affordable, low power Wi-Fi sensor network solutions that make a ubiquitous sensing world come alive and a full line of controlled temperature cabinets. Laboratory, Pharmacy and Chromatography refrigerators and freezers which are designed to meet the dimensional and temperature requirements of the scientific community.

Why Choose a Double Stainless Steel Sink for Your Kitchen?
Choosing the right sink affects daily cooking, cleaning, and kitchen maintenance. A double stainless steel sink offers two separate basins for practical multitasking. One side can hold soaking dishes, while the other remains available for rinsing vegetables or washing hands. This simple division can make a crowded kitchen feel more controlled.
Sink Double Stainless Steel models are valued for their durability, hygiene, and flexible use. Stainless steel resists rust, tolerates hot cookware, and usually cleans easily with mild soap. Experienced installers also consider bowl depth, cabinet space, drainage, and faucet placement before recommending a model. A deep basin can hide large pans, but it may feel uncomfortable for shorter users. Bowl size matters.
The best choice depends on your habits, not just appearance. Families may appreciate separated washing and rinsing areas. Home cooks may prefer one large bowl for baking trays. Sound-reduction pads can limit the sharp noise of running water, although they do not remove it completely. Thicker steel often feels more stable and may resist dents better, but quality depends on construction and installation.
It is not perfect, though. Two basins can restrict space for oversized cookware. Water spots may also appear without regular drying. Checking product specifications, warranty terms, and verified installation guidance supports a more reliable decision. A well-selected double sink should fit your routine, cabinet structure, and cleaning expectations—not merely match the countertop.
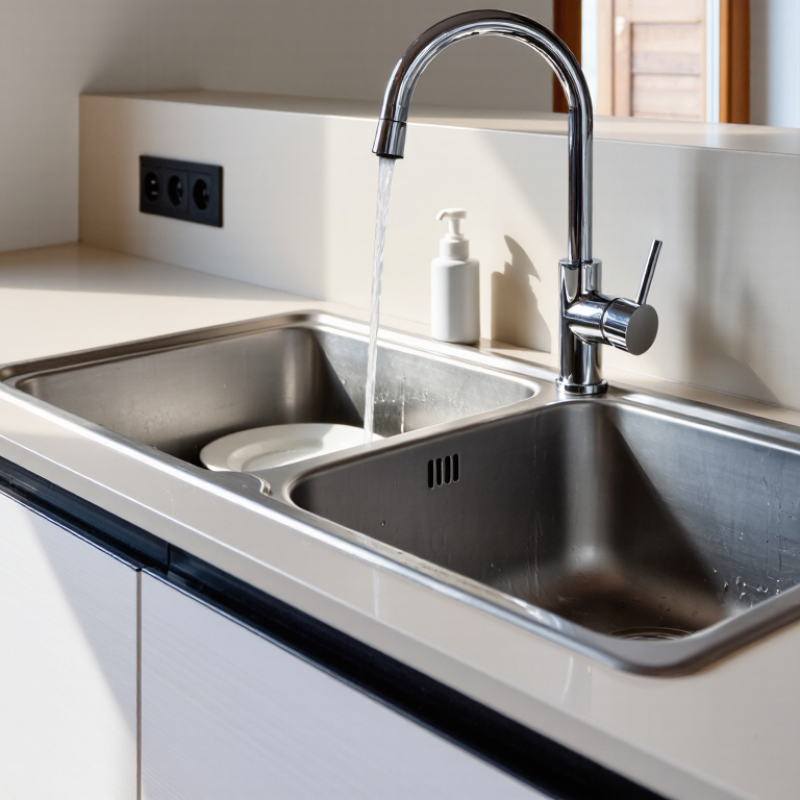
Table of Contents [Hide]
What Is a Double Stainless Steel Sink?
A double stainless steel sink is a kitchen basin divided into two separate bowls. One continuous rim connects them, while a central divider keeps water and food apart. Most models use corrosion-resistant stainless steel, often with a brushed surface that hides light scratches. The exact steel grade matters. Kitchen-grade 304 stainless steel is widely valued for its durability and resistance to everyday moisture. However, construction quality also depends on thickness, welding, drainage, and surface finishing. Not every shiny sink is equally durable.
The two-bowl design supports separate kitchen tasks. You can soak vegetables in one compartment while rinsing dishes in the other. One side may hold soapy water, while the second side remains available for clean preparation. This separation can make busy meal preparation feel less crowded. Bowl sizes are not always equal. A larger bowl suits pots and baking trays, while a smaller bowl handles quick washing. That sounds useful, but an oversized divider can limit large cookware.
Stainless steel also tolerates heat better than many common sink materials. Its nonporous surface is easier to clean after handling raw ingredients, provided it is washed properly. Drying the bowls helps reduce water spots and mineral buildup. A low-quality sink may sound loud when water hits its surface, though sound-absorbing pads can reduce the noise. I find this detail easy to overlook. Cabinet space, faucet position, and countertop depth should be checked before choosing the final configuration.
Contact Us
Phone
Toll Free: 1-800-796-2344
OH: 513 204 5837
PA: 215-281-9180
support@site_367d8ed1-a876-442b-a1d7-b1fc1cf4ed19