Aegis provides affordable, low power Wi-Fi sensor network solutions that make a ubiquitous sensing world come alive and a full line of controlled temperature cabinets. Laboratory, Pharmacy and Chromatography refrigerators and freezers which are designed to meet the dimensional and temperature requirements of the scientific community.

10 Tips for Buying a Wall Mounted Toilet Bowl
A wall-mounted toilet can make a small bathroom feel wider, cleaner, and easier to mop. Yet appearance is only one part of the decision. The phrase “Toilet Bowl Wall Mounted” describes the visible fixture, not the complete installation system. Behind the wall, a steel carrier, concealed cistern, flush plate, and waste connection must work together. That hidden structure deserves careful attention.
The U.S. Environmental Protection Agency’s WaterSense specifications identify efficient toilets that use no more than 1.28 gallons per flush while maintaining verified performance. This matters because a weak flush can create frustration, even when the bathroom looks modern. The Houzz 2024 U.S. Bathroom Trends Study also reflects continuing homeowner interest in updated bathrooms, improved functionality, and easier maintenance. These reports support a practical approach, but they do not replace product testing or professional inspection. Check the manufacturer’s technical drawings.
A reliable purchase begins with the wall structure, rough-in dimensions, seat height, flush performance, access panel, and spare-part availability. Measure twice. A few centimeters can decide whether the carrier fits correctly. The finished floor height also affects comfort for children, older adults, and taller users. I have seen attractive bathroom plans become expensive after the concealed tank was overlooked. That mistake is avoidable, but not always obvious in showroom photographs. This guide presents ten focused tips for comparing models, installation systems, water use, cleaning needs, warranty terms, and long-term repair access. The best choice is not necessarily the most expensive one. It is the system that remains dependable after the tiles are sealed and the renovation team has left.
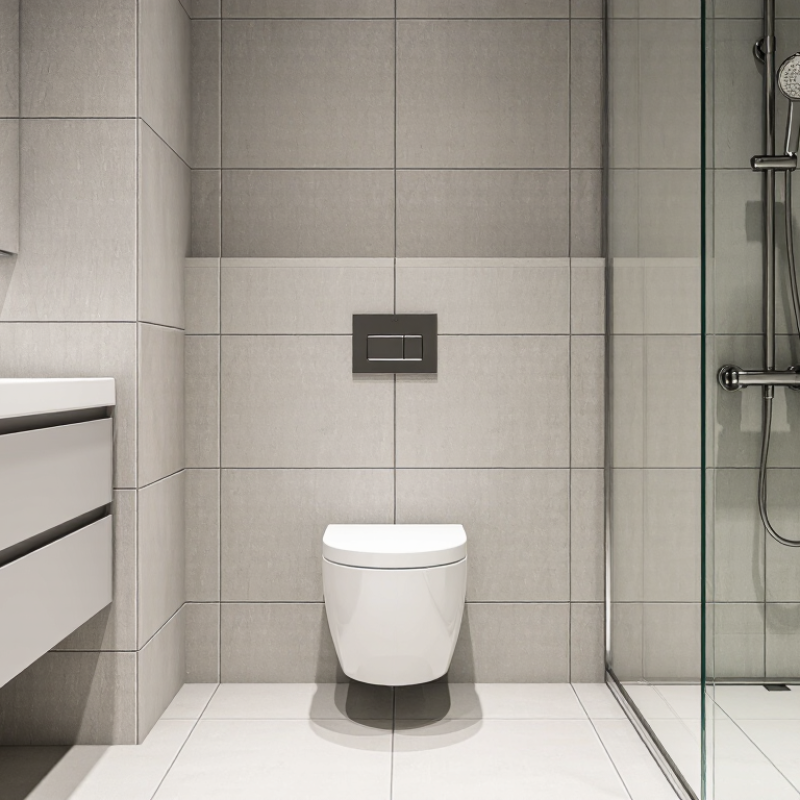
Table of Contents [Hide]
Assess Your Bathroom Space and Wall-Mounted Toilet Needs
Assess Your Bathroom Space and Wall-Mounted Toilet Needs
Before choosing a wall-mounted toilet bowl, measure the bathroom carefully. Record wall depth, finished floor height, drain location, and door clearance. The carrier frame needs a suitable cavity and strong structural support. A shallow wall may require extra framing, reducing usable floor area. That detail is easy to miss.
Check the user’s daily needs, too. A raised bowl can improve cleaning access and may help some users transfer more easily. However, seat height should match the household, not only current preferences. Children, older adults, and wheelchair users may need different dimensions. The 2024 NKBA Bathroom Design Trends Report continues to identify accessibility and easier maintenance as important bathroom planning priorities.
Water performance deserves equal attention. The U.S. Environmental Protection Agency’s WaterSense program reports that replacing an older toilet with a certified high-efficiency model can save a household nearly 13,000 gallons of water annually. Look for a model rated at 1.28 gallons per flush or less, then verify its flush-performance test results. Water savings alone do not guarantee comfort. I would also check access to the concealed cistern and flush mechanism. Repairs become frustrating when every service point is treated as invisible. Measure twice. Plan service access before the wall closes.
Contact Us
Phone
Toll Free: 1-800-796-2344
OH: 513 204 5837
PA: 215-281-9180
support@site_367d8ed1-a876-442b-a1d7-b1fc1cf4ed19