Aegis provides affordable, low power Wi-Fi sensor network solutions that make a ubiquitous sensing world come alive and a full line of controlled temperature cabinets. Laboratory, Pharmacy and Chromatography refrigerators and freezers which are designed to meet the dimensional and temperature requirements of the scientific community.

10 Tips for Buying Custom Table Legs
Buying Custom Table Legs can transform an ordinary tabletop into a stable, distinctive piece of furniture. The right legs influence height, balance, comfort, and visual weight. They also determine whether your table feels refined or slightly awkward.
Charles Eames, a respected furniture designer and architect, said, “The details are not the details. They make the design.” His observation applies directly to table legs. A small difference in steel thickness, wood grain, or mounting position can change the entire table. Before choosing a style, measure the tabletop, confirm its weight, and consider how people will use the finished piece. A dining table needs comfortable clearance. A desk needs dependable support. A narrow console may require stronger anti-tip planning.
Material matters. Powder-coated steel offers a clean, durable finish, while solid wood adds warmth and visible craftsmanship. Check the leg dimensions, mounting plates, screw compatibility, and floor-protection options. Adjustable feet can help on uneven floors. They are easy to overlook. That can become an annoying daily problem.
This guide, “10 Tips for Buying Custom Table Legs,” focuses on practical decisions rather than impressive photographs alone. You will compare proportions, load capacity, finishes, installation methods, and supplier reliability. Some choices may still involve compromise. A delicate appearance can reduce strength. A heavy-duty design may look too industrial. Good buying decisions come from examining those tensions honestly, not hiding them behind attractive marketing.
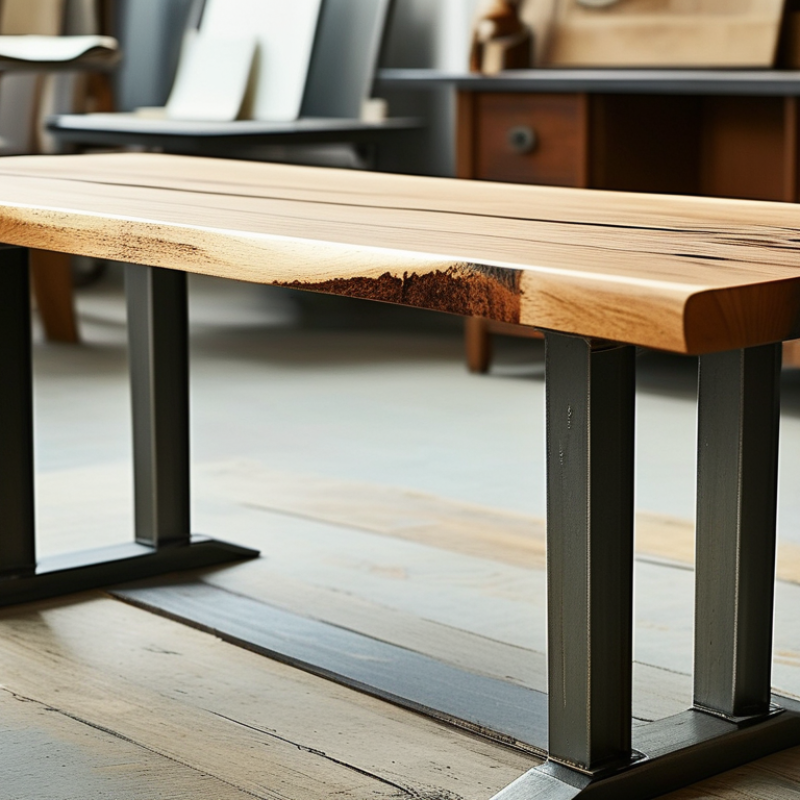
Table of Contents [Hide]
Define Your Table’s Purpose, Style, and Required Leg Dimensions
Buying custom table legs starts with purpose, not appearance. A dining table needs stable support for daily meals, homework, and occasional heavy serving dishes. A desk needs legroom, cable clearance, and comfortable working height. OSHA’s Computer Workstations eTool recommends a work surface that keeps elbows near 90 degrees. Most desks therefore sit around 28 to 30 inches high, including the tabletop. Measure your chair, floor, and tabletop before ordering. A beautiful leg can still feel wrong.
Style should support the room’s visual weight. Thick steel legs suit industrial interiors, while tapered wood legs soften smaller spaces. Measure the tabletop’s length, width, and thickness. Then calculate the leg height, apron clearance, and mounting position. Leave enough knee space at every seat. ANSI/BIFMA X5.5-2021 includes stability and strength tests for desk products, reminding buyers that appearance cannot replace performance. Ask the fabricator about load capacity, fasteners, floor adjusters, and finish durability.
Reports also reveal why planning matters. The 2024 Houzz & Home Study reported a median kitchen renovation spend of about $26,000 in the United States. Custom furniture decisions deserve similar care, even at a smaller budget. I once chose legs by visual proportion alone. The finished table looked elegant, but the wide supports restricted seating. That mistake was avoidable. Recheck every dimension, especially if the table will move between rooms. Supplier drawings may be incomplete. Request a scale sketch before production.
Contact Us
Phone
Toll Free: 1-800-796-2344
OH: 513 204 5837
PA: 215-281-9180
support@site_367d8ed1-a876-442b-a1d7-b1fc1cf4ed19